Understanding the intricacies of installing epoxy floor coating is the first step toward transforming your concrete surfaces. This durable, aesthetically pleasing, and highly functional solution can revitalize garages, basements, patios, and more. While the idea of a new, resilient floor is exciting, the installation process itself demands precision, specialized knowledge, and the right tools to ensure a flawless, long-lasting result. This guide will walk you through what it takes to achieve a premium concrete coating, whether you're exploring options or ready to enhance your property.
Understanding Epoxy Floor Coatings: More Than Just Paint
Epoxy floor coatings are not merely a decorative layer; they are a high-performance thermosetting polymer applied over concrete to provide a durable, smooth, and long-lasting surface. Composed of a resin and a hardener, these two components react chemically to form a rigid plastic material that is strong, resistant to degradation, and bonds incredibly well to concrete. The result is a floor that stands up to heavy traffic, chemical spills, abrasions, and moisture, making it ideal for both residential and commercial applications.
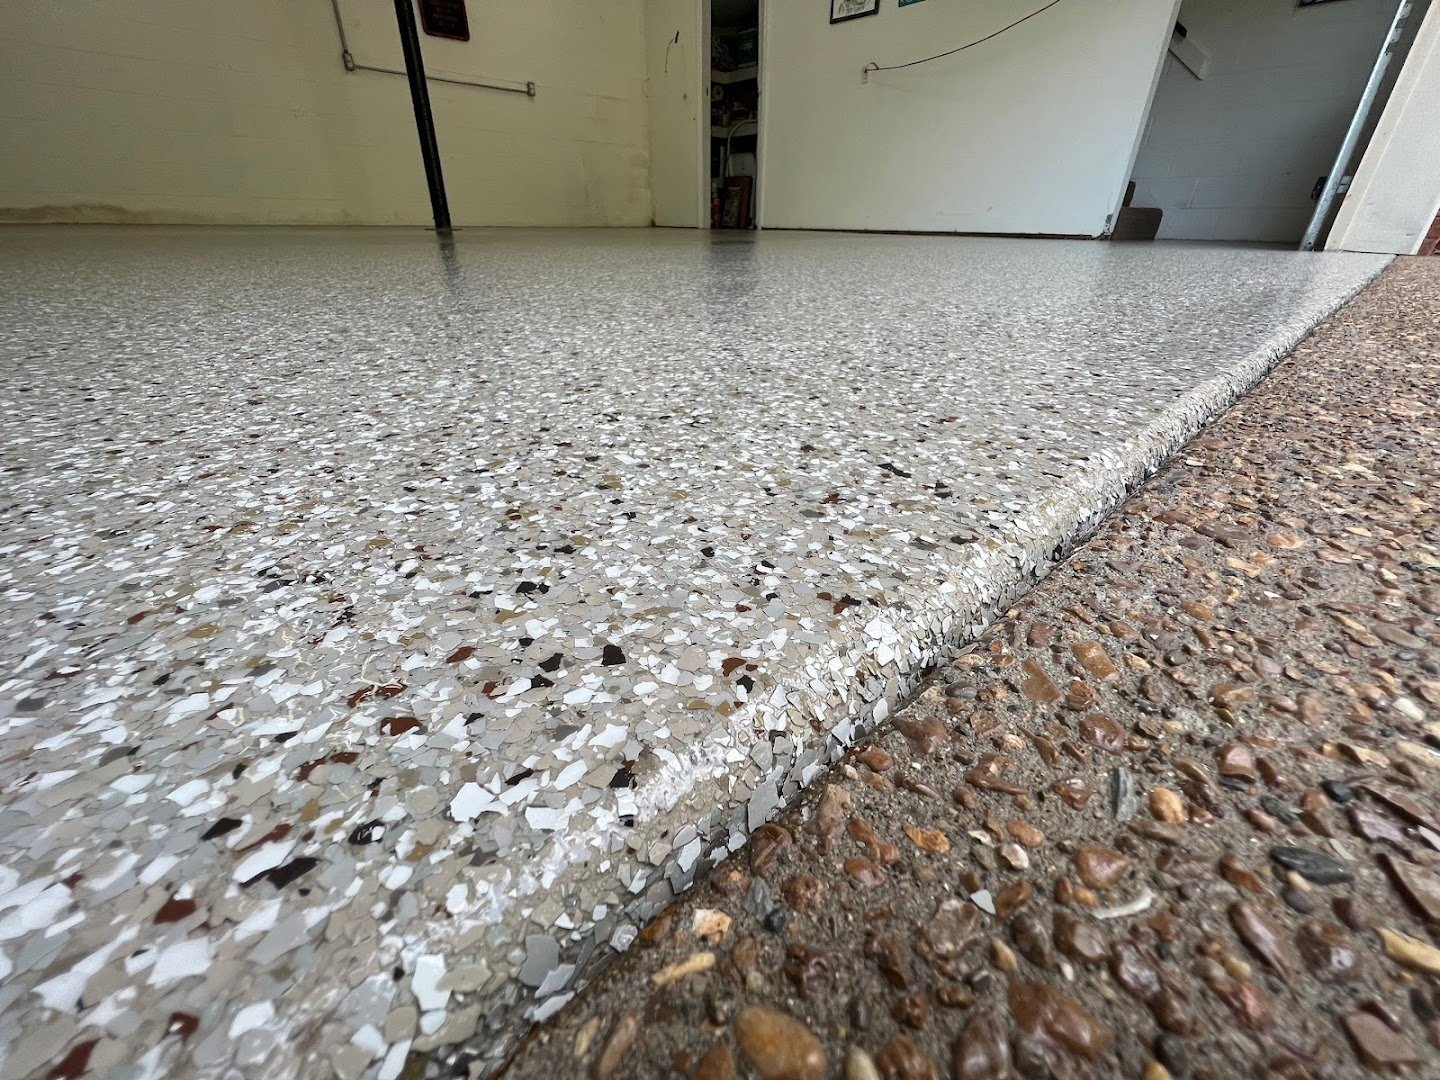
Beyond their robust protective qualities, epoxy coatings offer significant aesthetic versatility. Available in a wide array of colors, patterns, and finishes—including solid colors, metallic effects, and decorative flake systems—they can dramatically enhance the look and feel of any space. This combination of strength and style makes them a top choice for those seeking both functionality and visual appeal from their concrete floors.
The Detailed Process of Installing Epoxy Floor Coating
Successfully installing epoxy floor coating is a multi-step process that requires meticulous attention to detail at every stage. Skipping or rushing any part can compromise the coating's adhesion, durability, and overall appearance. Here's a breakdown of the key phases involved:
- Surface Preparation: The Foundation of Success
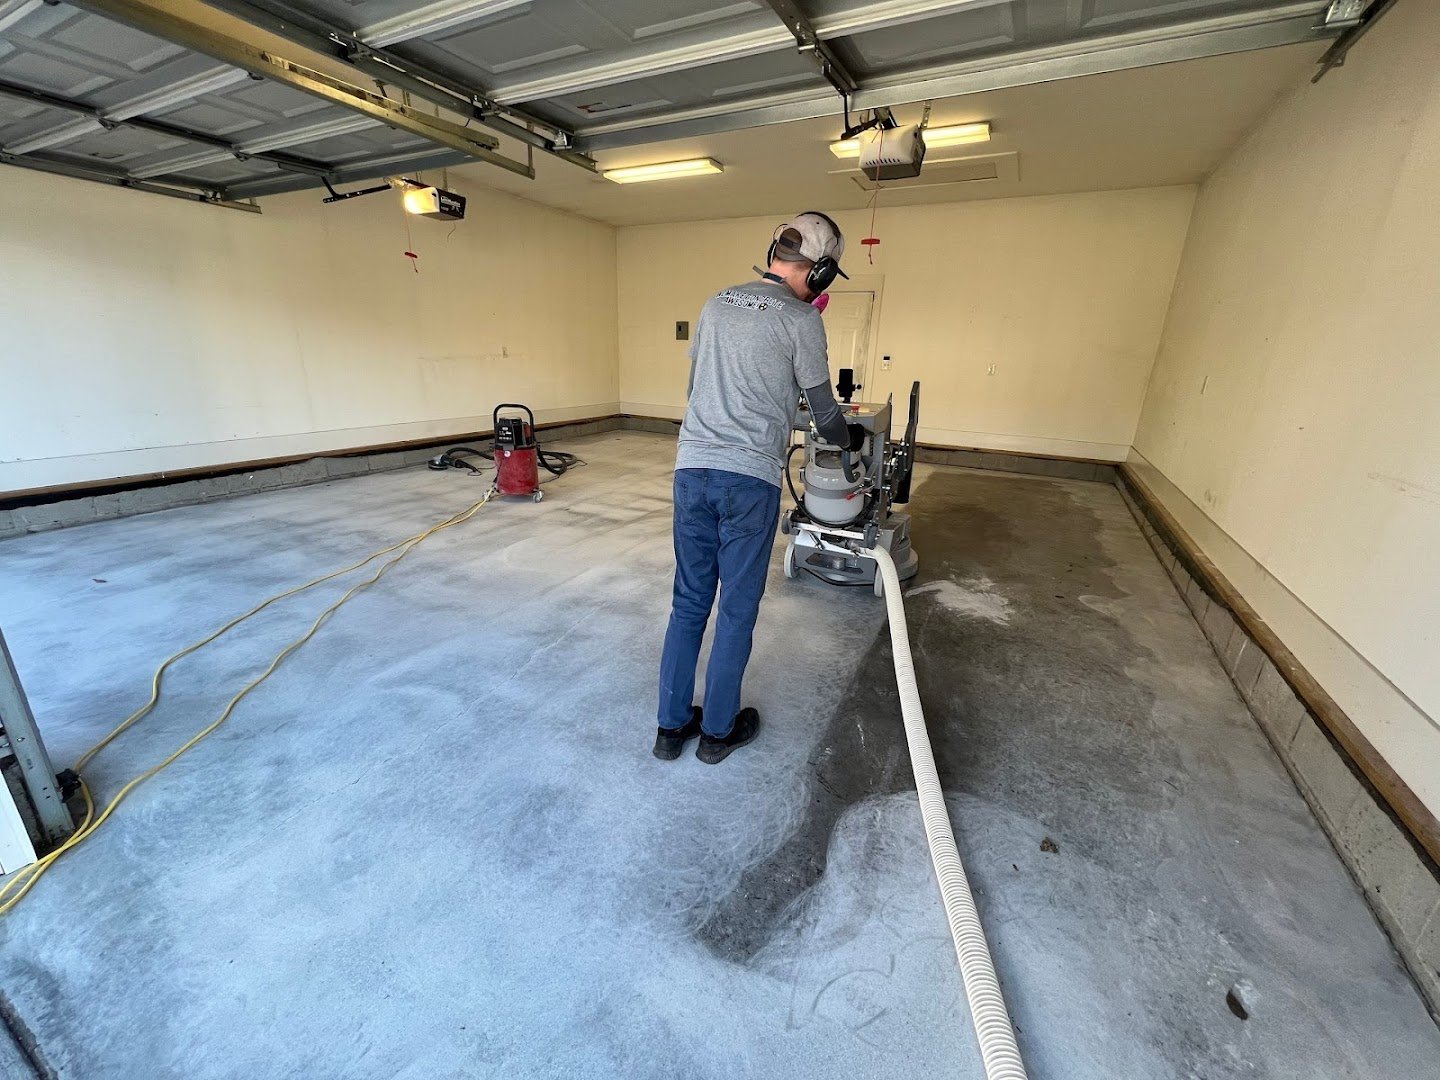
This is arguably the most critical step. The concrete surface must be clean, dry, and free of any contaminants like oil, grease, paint, or old sealers. Professional installers often use diamond grinders to mechanically abrade the surface, creating a profile that allows the epoxy to bond effectively. Any cracks, spalling, or imperfections in the concrete must be thoroughly repaired and leveled before coating application.
- Cleaning and Etching: Ensuring Optimal Adhesion
After grinding and repairs, the floor is thoroughly cleaned to remove all dust and debris. For some applications, an acid etching process might be used to further open the pores of the concrete, though mechanical grinding is generally preferred for superior adhesion. The floor must then be completely dry, with moisture levels checked to prevent future delamination.
- Priming the Surface: Enhancing Bond Strength
A primer coat is often applied to seal the concrete and create an even, receptive surface for the subsequent epoxy layers. This step helps to prevent pinholes and ensures a stronger, more uniform bond between the concrete and the epoxy.
- Applying the Epoxy Base Coat: The Core Layer
Once the primer is cured, the first layer of epoxy (the base coat) is mixed and applied. This is typically done with squeegees and rollers, ensuring even coverage. For decorative flake systems, the flakes are broadcast into this wet base coat.
- Topcoat Application: Protection and Finish
After the base coat and flakes (if used) have cured, a clear topcoat, often a polyurea or polyurethane, is applied. This topcoat provides an additional layer of protection against UV degradation, scratches, and chemicals, while also sealing in the decorative flakes and creating the desired finish (gloss, satin, or matte).
- Curing Time: Patience for Perfection
The final and often overlooked step is allowing adequate time for the coating to cure. While many modern polyurea systems allow for foot traffic in a matter of hours, full chemical resistance and hardness can take several days to achieve. Following manufacturer guidelines for curing is essential for the coating's longevity.
DIY vs. Professional Installation: Making the Right Choice
When considering installing epoxy floor coating, many homeowners weigh the option of a DIY project against hiring professionals. While the allure of saving money with a do-it-yourself approach is understandable, the complexities and potential pitfalls of epoxy application often make professional installation the superior choice for lasting results.
DIY kits typically offer a basic epoxy system, but they often lack the industrial-grade materials, specialized equipment, and expert techniques required for a truly durable and aesthetically pleasing finish. Mistakes in surface preparation, improper mixing ratios, uneven application, or inadequate curing can lead to a host of problems, including peeling, bubbles, discoloration, and premature wear. These issues not only undermine the investment but can also be costly and difficult to repair.
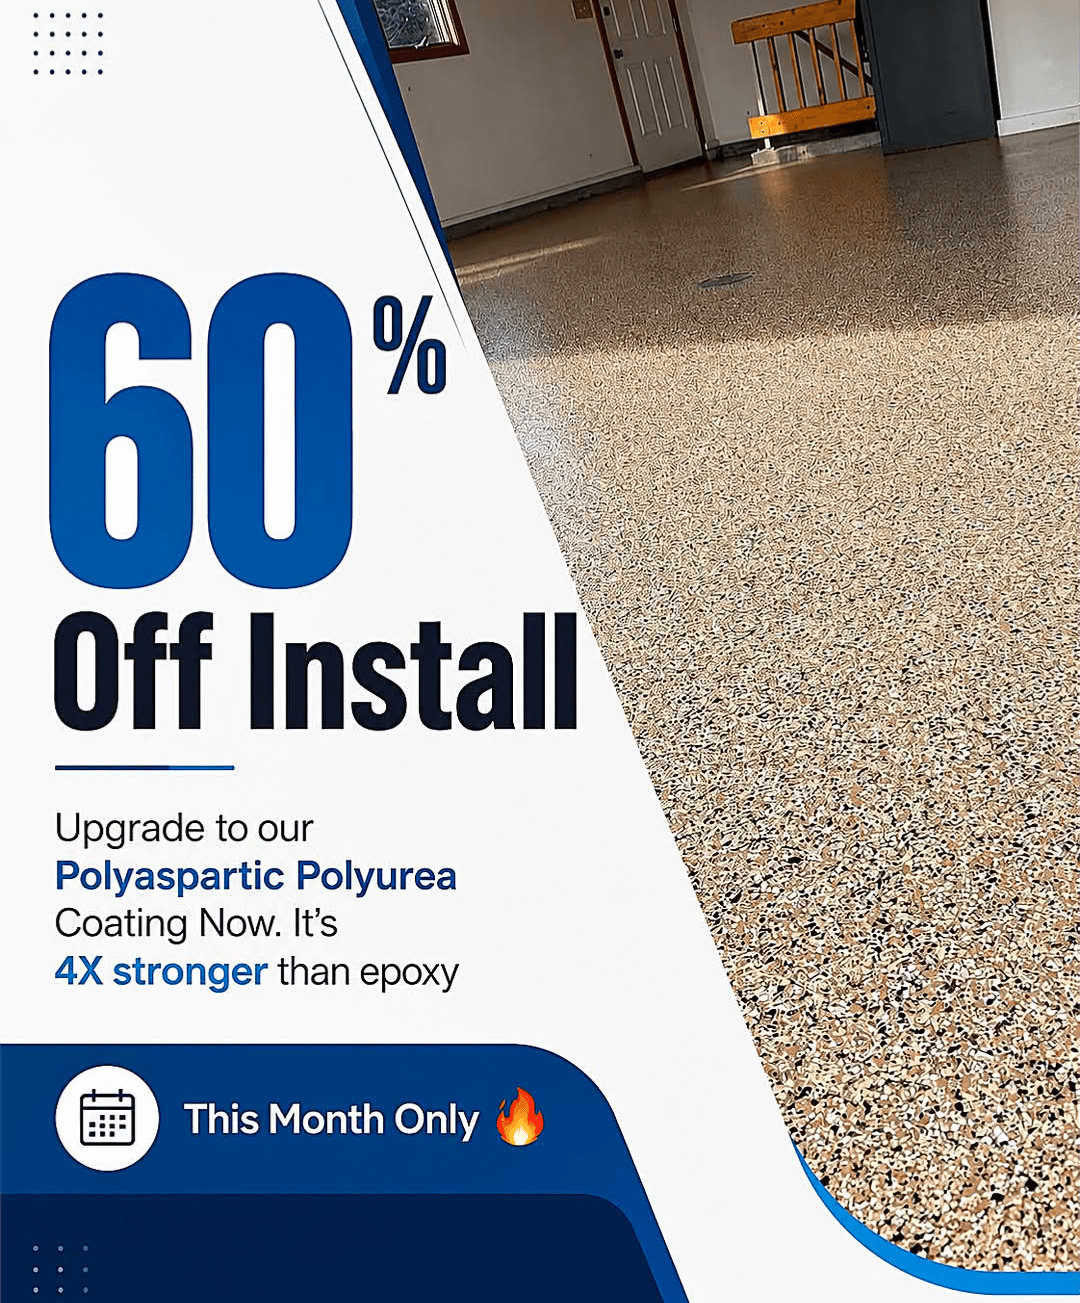
Professional concrete coating contractors, on the other hand, bring extensive experience and access to premium polyurea and polyaspartic systems that outperform standard epoxy. They possess the necessary heavy-duty grinding equipment, moisture meters, and application tools to ensure optimal adhesion and a flawless finish. Furthermore, professionals understand the nuances of different concrete types and environmental conditions, allowing them to adapt their process for superior outcomes. With professional installation, you also benefit from efficiency—often completing projects in a single day—and the peace of mind that comes with a comprehensive warranty, protecting your investment for years to come.
Beyond the Garage: Versatile Applications for Concrete Coatings
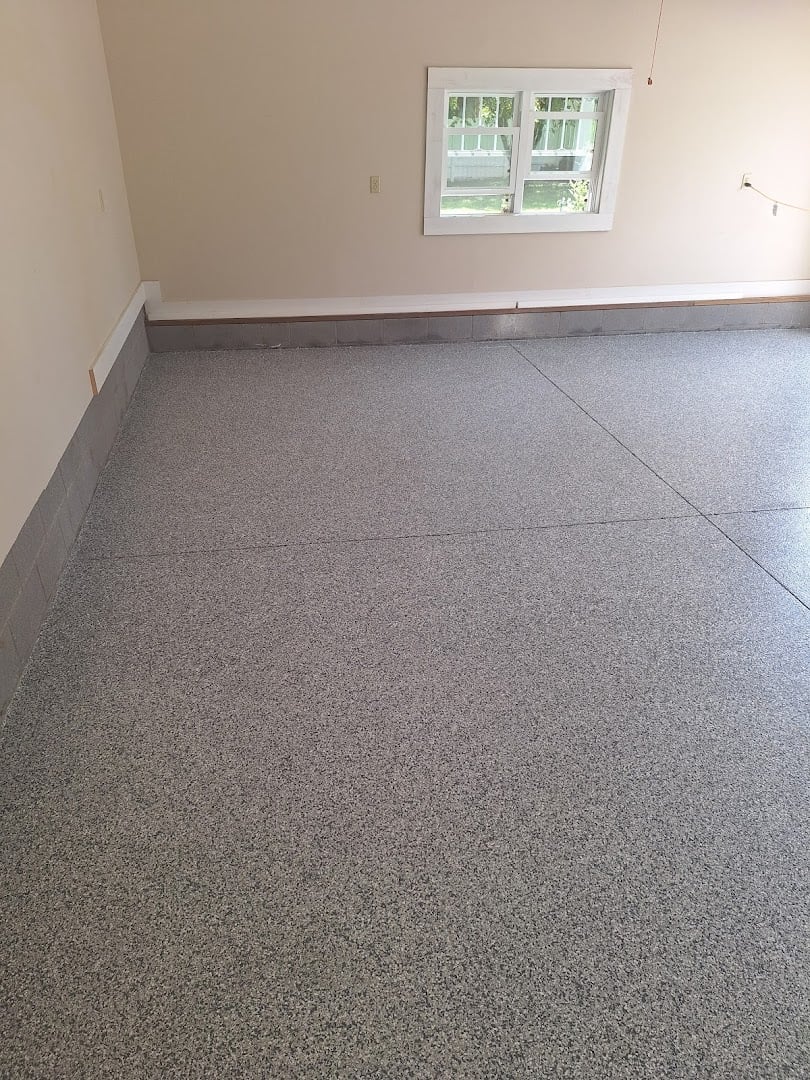
While garage floors are a popular application for durable coatings, the benefits of installing epoxy floor coating extend far beyond this single space. The resilience, aesthetic appeal, and ease of maintenance make these systems ideal for a wide range of concrete surfaces around your home or business.
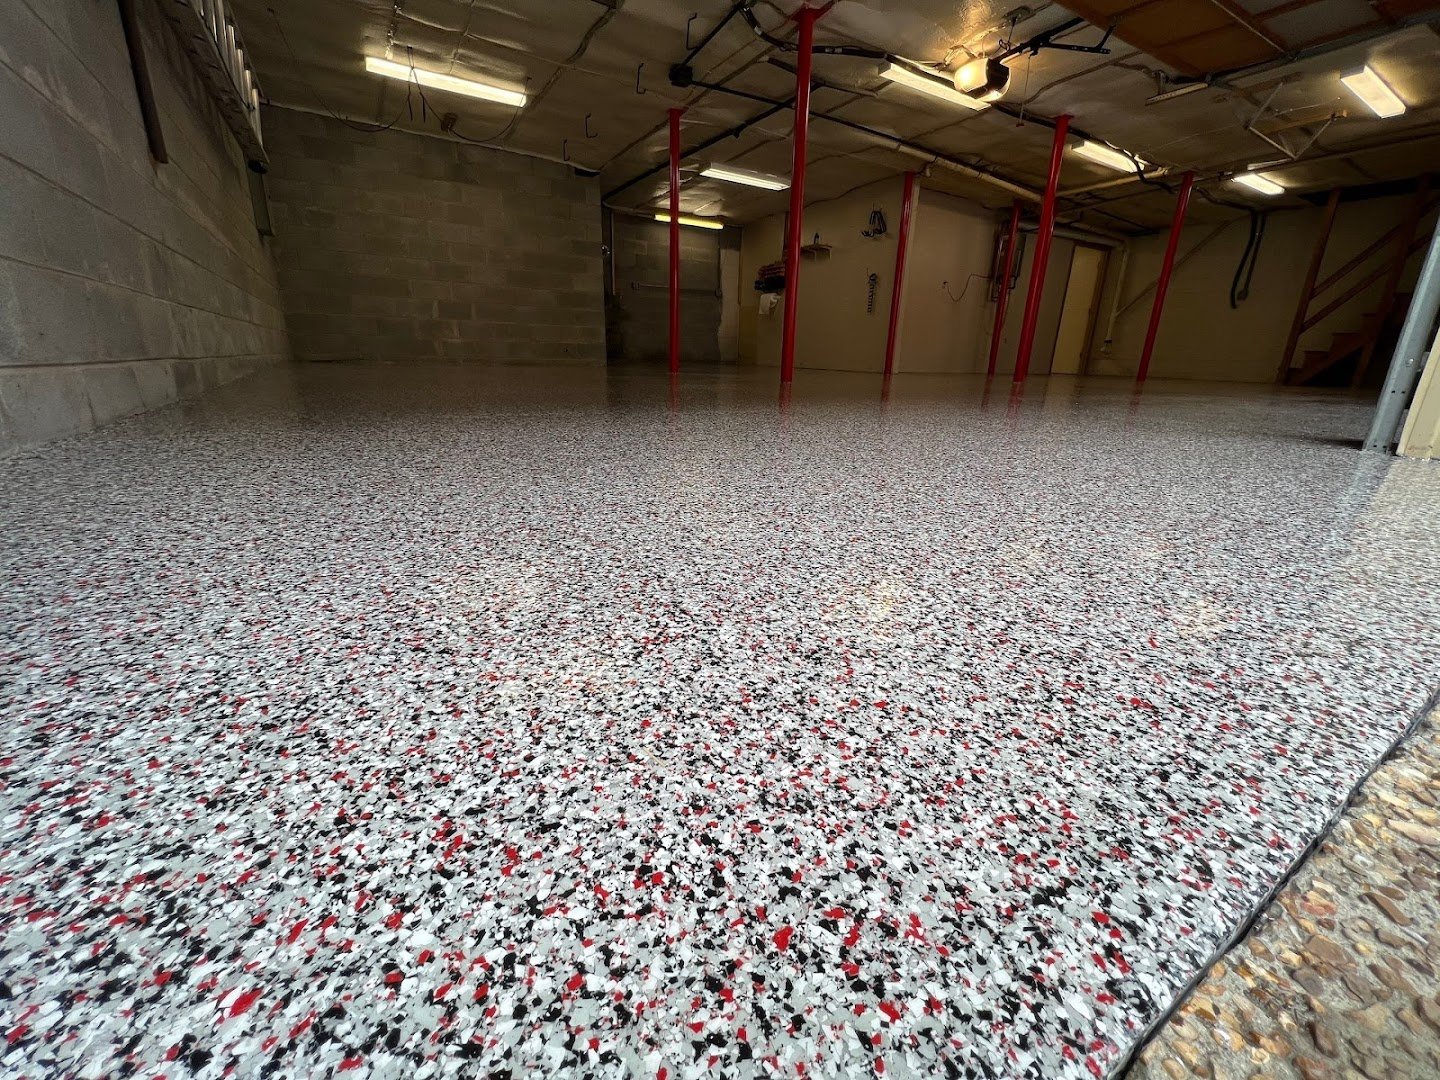
- Basement Floors: Transform damp, drab basements into bright, inviting living spaces. Epoxy coatings provide moisture resistance and a clean, finished look.
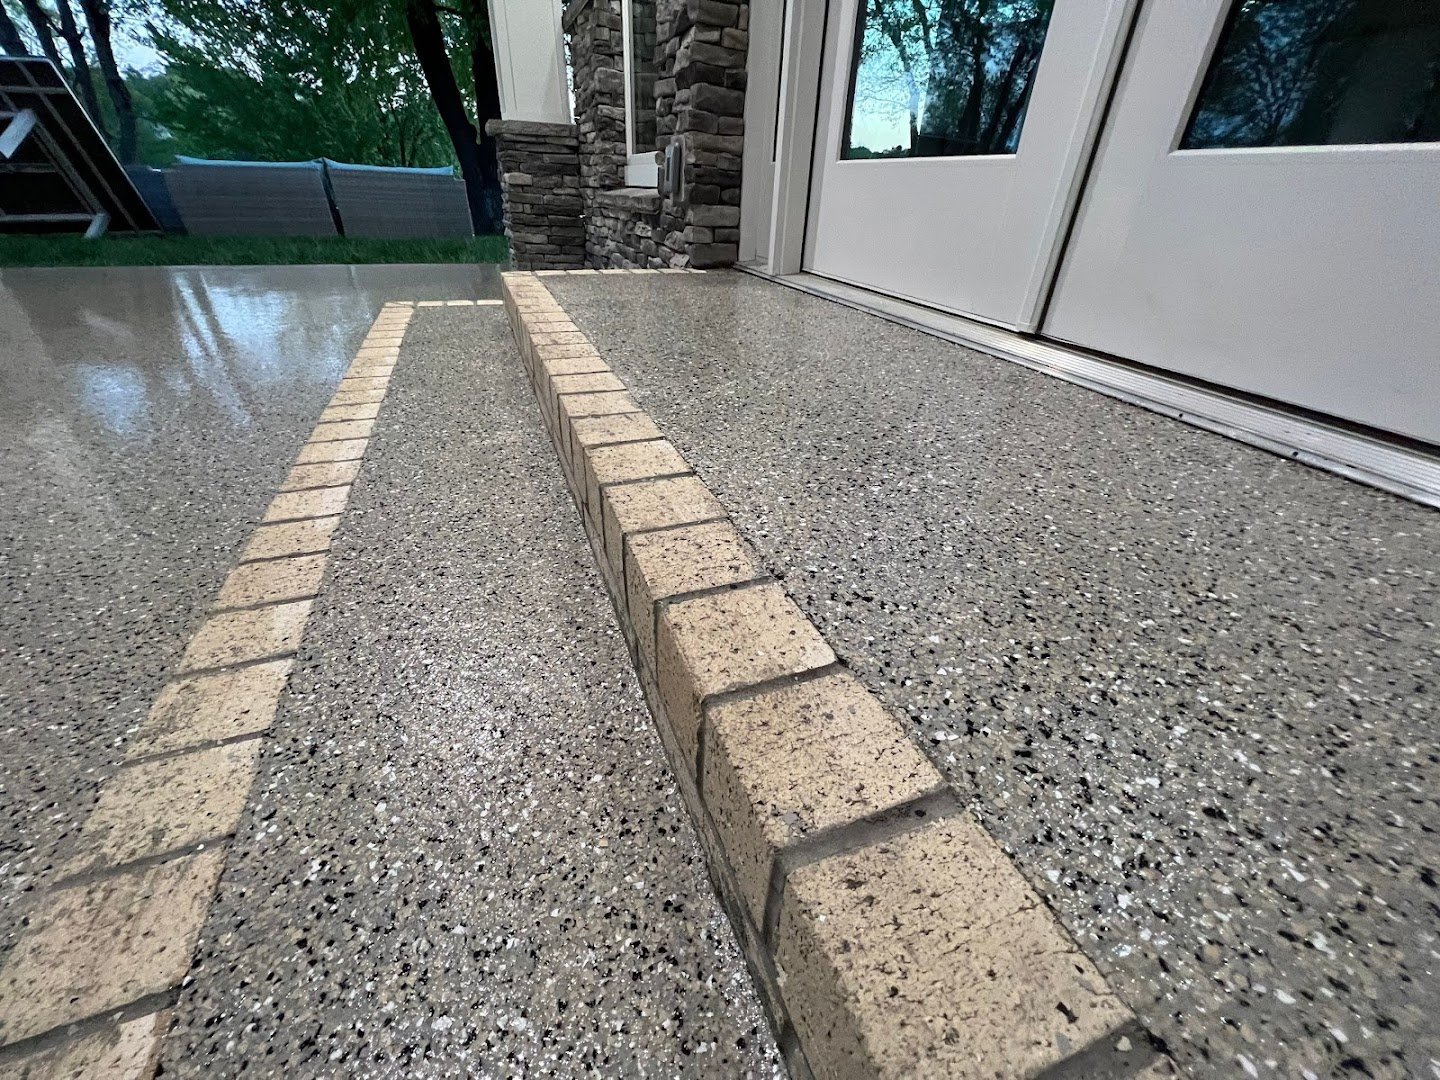
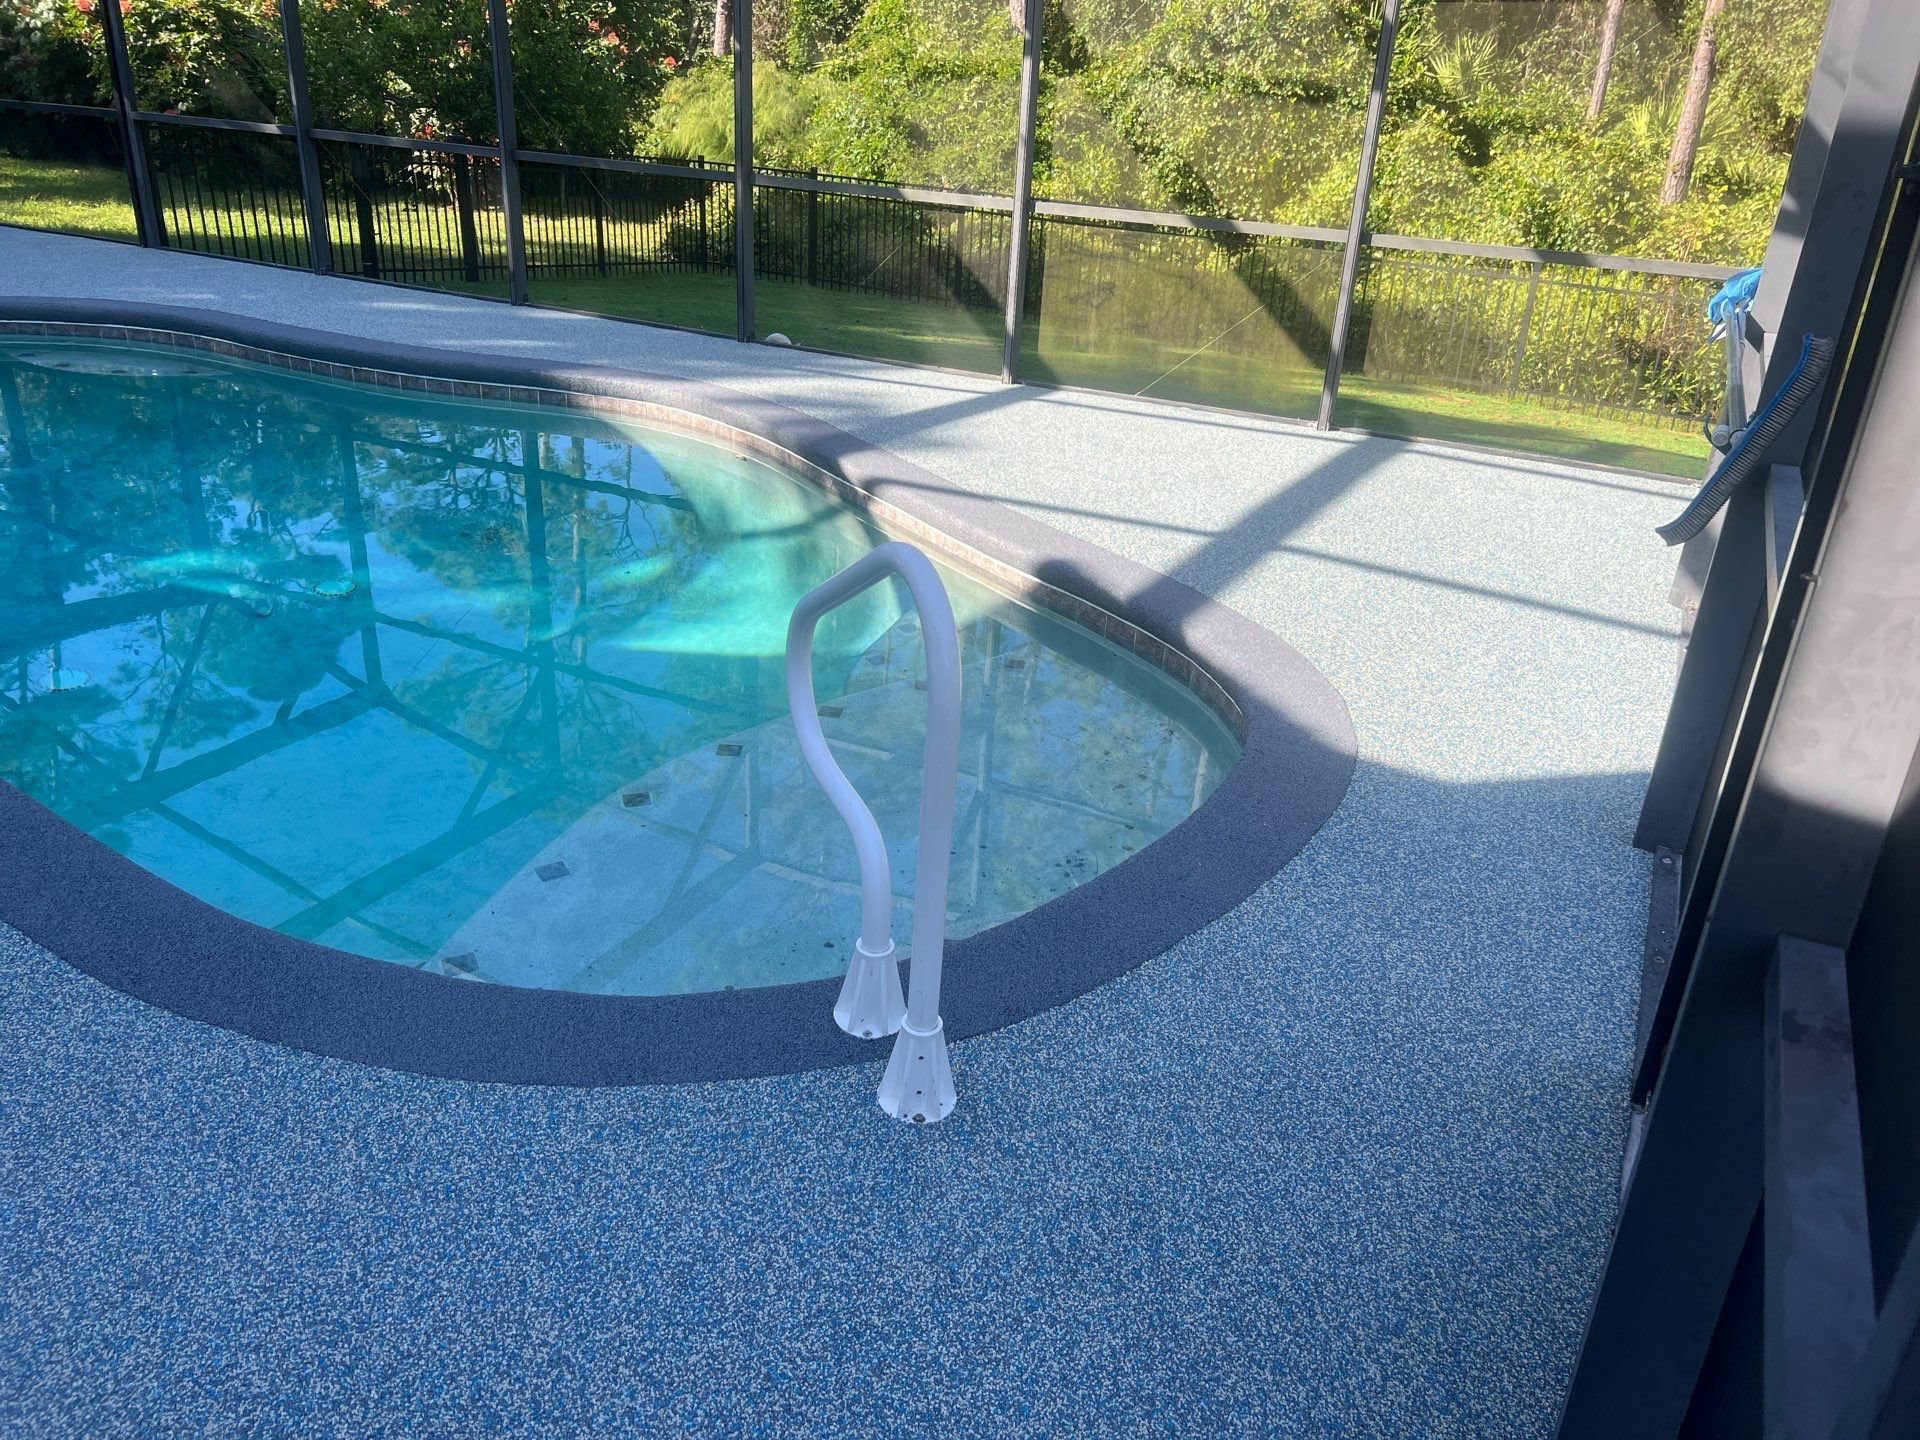
- Patios and Pool Decks: Enhance outdoor living areas with slip-resistant, UV-stable coatings that withstand harsh weather and pool chemicals, offering both beauty and safety.
- Driveways: Protect your driveway from oil stains, tire marks, and weathering with an incredibly durable and easy-to-clean surface that boosts curb appeal.
- Commercial & Industrial Spaces: From showrooms to warehouses, the strength and chemical resistance of these coatings make them perfect for high-traffic environments requiring robust, easy-to-maintain flooring.
No matter the location, a professionally installed concrete coating offers a significant upgrade in both function and aesthetics, providing a long-lasting solution tailored to your specific needs.
Frequently Asked Questions
How long does it take to install epoxy floor coating?
The actual application time for installing epoxy floor coating can vary depending on the size of the area and the complexity of the system. However, with advanced polyurea systems and professional teams, many projects, especially garage floors, can be completed in a single day. Full cure times for chemical resistance and heavy use typically range from 24 hours to several days.
Is epoxy floor coating durable?
Yes, professionally installed epoxy and polyurea floor coatings are exceptionally durable. They are designed to withstand heavy foot traffic, vehicle weight, abrasions, impacts, and a wide range of chemicals, making them one of the toughest flooring options available for concrete surfaces.
What kind of maintenance does an epoxy floor require?
Epoxy floors are remarkably low maintenance. Regular cleaning typically involves sweeping or vacuuming to remove loose debris, followed by mopping with a mild detergent and water. Avoid abrasive cleaners or harsh chemicals to preserve the coating's finish.
Can I install epoxy floor coating over damaged concrete?
While epoxy coatings can hide minor imperfections, proper surface preparation is crucial. Significant cracks, spalling, or unevenness must be repaired and leveled before installing epoxy floor coating. Applying epoxy over damaged concrete without proper repair will lead to premature failure of the coating.
What's the difference between epoxy and polyurea coatings?
Both are durable concrete coatings, but polyurea offers superior flexibility, faster cure times, and better UV stability than traditional epoxy. This means polyurea is less prone to cracking from concrete movement, can be installed more quickly, and won't yellow over time when exposed to sunlight, making it ideal for outdoor applications and garage floors.
How much does installing epoxy floor coating cost?
The cost of installing epoxy floor coating varies widely based on factors like the size of the area, the condition of the existing concrete, the type of coating system chosen (e.g., solid color, flake, metallic), and the complexity of the installation. Professional installation, while an investment, ensures quality materials, expert application, and a long-term warranty, often making it more cost-effective in the long run than repeated DIY attempts.
The decision to enhance your concrete floors with a high-performance coating is a smart investment in durability, aesthetics, and property value. While understanding the process of installing epoxy floor coating is valuable, entrusting your project to experts ensures a premium finish that lasts. Maverick Concrete Coatings specializes in providing "The Best One Day Concrete Floor Coating Contractors" experience, delivering superior polyurea systems backed by a lifetime warranty. Don't settle for less than perfection for your garage, basement, patio, or driveway. Get a free estimate today and experience the Maverick difference.